
How to add measurements to photos without guessing from pixels.
The safest workflow uses a real field measurement and a photo that shows exactly where the value applies.
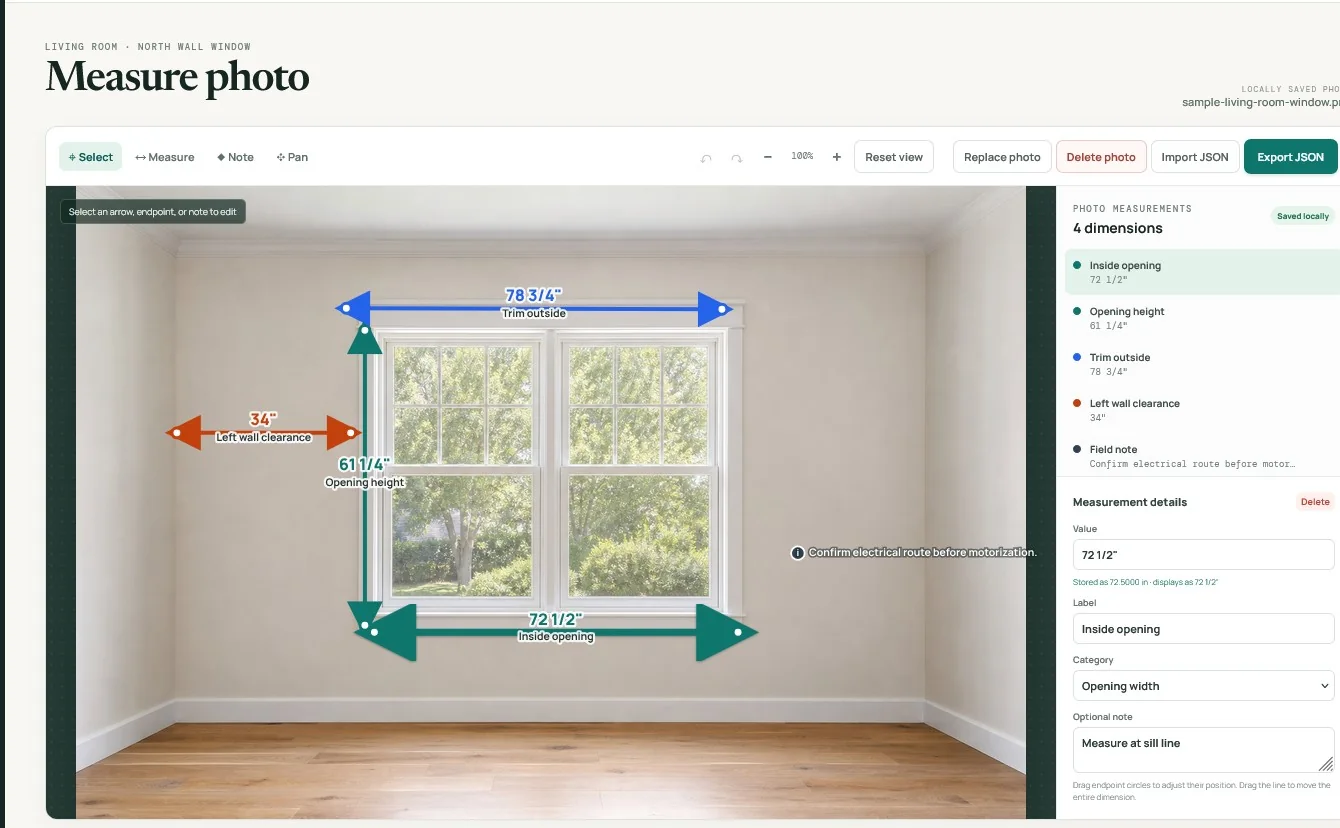
Start with a real field measurement
A photo is excellent for showing location, obstruction, and context, but an ordinary uncalibrated image is not a dependable source of pricing-critical dimensions. Measure the real condition with the appropriate tool, then enter that value on the photo.
Place the arrow where the value applies
Draw the dimension line between the two relevant points. Use a clear label such as “Inside opening width,” “Wall to cabinet,” or “Ceiling to floor.” Avoid generic labels like “Width” when the photo contains several possible widths.
- Keep endpoint placement precise.
- Store the numeric value separately from the displayed fraction.
- Add a note when the measurement depends on a sill, trim edge, centerline, or installation decision.
Keep multiple valid measurements
The same photo may need an inside width, outside trim width, wall-to-wall width, recess depth, and clearance. These are not duplicates. They represent different physical conditions or product possibilities.
Use structured annotations, not only a flattened image
A flattened image is useful for viewing, but it cannot easily populate a calculator or estimate. Structured annotations preserve the value, unit, category, label, note, source photo, project, author, and revision.
Review before using the value downstream
Field measurements should be reviewed before they become approved calculator, estimate, quote, or order values. The photo helps the office understand how the measurement was taken and whether the selected value fits the intended scope.
Keep the measurement, photo, and business workflow connected.
MeasureTrace is being built to capture field information once and make approved data reusable by the office.
Start free